XQuartz installation on macOS
 Image credit: Maxim Hopman on Unsplash
Table of Contents
Motivation
Whether working, or studying, everybody uses various sorts and types of software on their computer. Students taking Statistical Courses, as taught by the Mathematical and Statistical Methods group at Wageningen University & Research, will most likely use R. Students enrolled in MAT15303 Statistics 1, and MAT15403 Statistics 2 will use R Commander instead of basic R. Therefore, they will need to install R Commander.
R Commmander has been programmed in Tcl (Tool Command Language) and uses Tk as a graphical user interface toolkit. To be able to use R Commander correctly on macOS, software needs to installed that enables the use of Tcl/Tk. XQuartz is the only software on macOS, which enables the operating system to use Tcl/Tk.
In the text some symbol combinations are used for shortcuts, the following table explains the meaning of these symbols in relation to specific keys on your keyboard. To use the shortcuts press the keyboard keys simultaneously, e.g., ⇧⌘A means ⇧+⌘+A.
| Icon | Keyboard Meaning | Icon | Keyboard Meaning | |||
|---|---|---|---|---|---|---|
| ⌘ | command | ⇪ | caps lock | |||
| ⌥ | option (or alt) | ↩ | carriage return (return/enter) | |||
| ⌃ | control | ⌫ | delete/backspace | |||
| fn | function | ⌦ | forward delete (fn + ⌫) | |||
| ⇧ | shift (either left or right) | ⎋ | escape |
Download
At the time this post was written the release of XQuartz was version 2.7.11. It will work on Mac OS X Snow Leopard (version 10.6.x) or later, up to and including OS X Mountain Lion (version 10.8.x).
Download XQuartz using the following link: XQuartz v2.7.11 (ca. 75.9 MB)
The latest release of XQuartz, however, is version 2.8.5. This version should be used for OS X Mavericks (version 10.9.x) or later.
Download XQuartz using the following link: XQuartz v2.8.5 (ca. 103MB)
Make sure you download and install the correct version!
To see which version of macOS is installed on your mac, click on in the menu bar and select ‘About This Mac’.
XQuartz Installation
The icons and screenshots shown in this post are for XQuartz v2.7.11 and have not been updated to the latest version of XQuartz. The procedure described, however, is still the same, although the version number displayed below can be different depending on the version you are installing.
To install XQuartz on macOS perform the following steps:
- Open the downloaded XQuartz disk image (
*.dmgfile) or package (*.pkgfile). This file will most likely reside in Finder > Downloads (shortcut: ⌥⌘L). The file can more easily be found by switching into List view (shortcut: ⌘2). To switch to Icon view use the shortcut: ⌘1. The XQuartz disk image will look like the image displayed below in Figure 1 (version number may differ!).

- Opening the XQuartz disk image will cause a window labeled ‘XQuartz-2.7.11’ or ‘XQuartz-2.8.5’ to appear containing a XQuartz installer package. This package looks like the image shown in Figure 2, however the version number may be different. Double click the XQuartz installer package to open the installer.
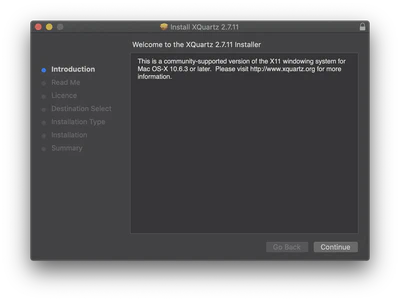
- The installer for XQuartz will appear, showing the Introduction as displayed below in Figure 3. Click the ‘Continue’ button to proceed.
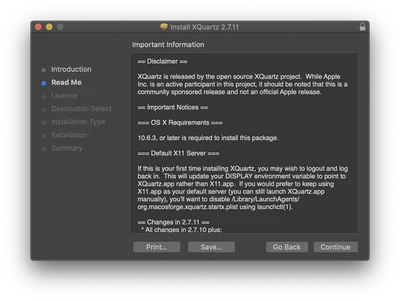
- Next the Read Me will appear as shown in Figure 4 below. Click the ‘Continue’ button to proceed.
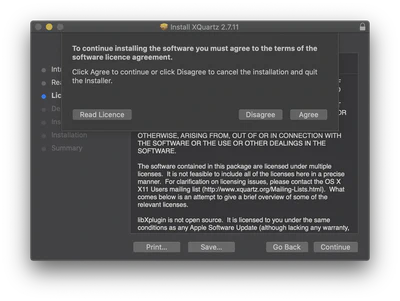
- Right after the Read Me a Software Licence Agreement will appear. By clicking the ‘Continue’ button you will be asked to agree with this software licence agreement as diplayed in Figure 5. Click on ‘Agree’ to proceed.
- The installer will select the best destination to install the software for you and will display the Installation Type as shown below in Figure 6. Click on the ‘Install’ button to start the software installation.

- Before the software installation will commence, confirmation of the user is requested as displayed in Figure 7. Either use the finger print scanner on the touch bar of your mac or confirm using the password of your mac.

- Most likely a security request will pop up from your operating system, requesting access to control system events as shown below in Figure 8. Click on the on the ‘OK’ button to grant access.

- Now you will be warned that to make XQuartz your default X11 server, as shown in Figure 9 below. You will need to completely shut down, and restart your mac. Click on the on the ‘OK’ button to continue.

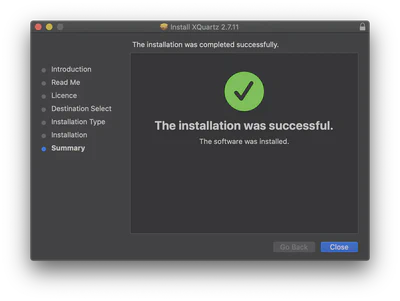
- The software installer will start installing XQuartz onto your mac. When completed the installer will show a summary stating, that the installation was successful (see Figure 10). Click on the ‘Close’ button.
- The installer will finally ask you, whether you want to keep or move the XQuartz installer package to the trashbin. Click ‘Move to Bin’ to discard the installer package and simultaneously close the XQuartz disk image. In reality the XQuartz disk image will be put into the trashbin from which it can still be recovered!
As mentioned in step 9, you have to make XQuartz your default X11 server.
Completely shut down your mac. Do this by navigating your mouse pointer to the menu bar, click on and select ‘Shut Down…’.
After the shut down, restart your mac and XQuartz will be your default X11 server.
Troubleshooting: XQuartz fails to start
In macOS 14 (Sonoma) and 15 (Sequoia) it can happen that XQuartz fails to start up, due to the new security settings in these versions of macOS.
To check if this is the case for your mac try to start XQuartz directly from the Utilities folder under Applications in Finder (Finder shortcut: ⇧⌘U). When starting XQuartz you will see the XQuartz icon bouncing in the taskbar, but the program fails start.
Check whether the application is allowed to run in the background. Go to “System Settings” on your mac, and select “General” in the left column of the window. In the right side of the window navigate to “Login Items & Extensions”.
In the part named “Allow in the Background” you should see XQuartz with a slider behind it. Make sure that the slider is moved to the right, as shown in Figure 11. When the slider is positioned to the left, move it to the right (causing it to change color to blue).

Now XQuartz will start up automatically, when required and will run in the background.
Maikel Verouden, Ph.D.
Researcher | Lecturer | IT & Organization contact person
My research interests include Statistics, Teaching and programmable matter (statistical software).